|
|
|
|
||
|
Climb the Mountain Speech & Debate Foundation Climb the Mountain
provides support for coaches, students, and judges to build a bigger and even
better speech and debate community. |
Google Slides Basic How tos . . . Prepared by Jim Hanson (with previous help from Nick
Griffin). Updated June 20, 2020. Google Slides Basic How tos . .
. How
To Make your Bullets Appear One at a Time Have
text and pictures? Want to go back and forth from text to pictures? How
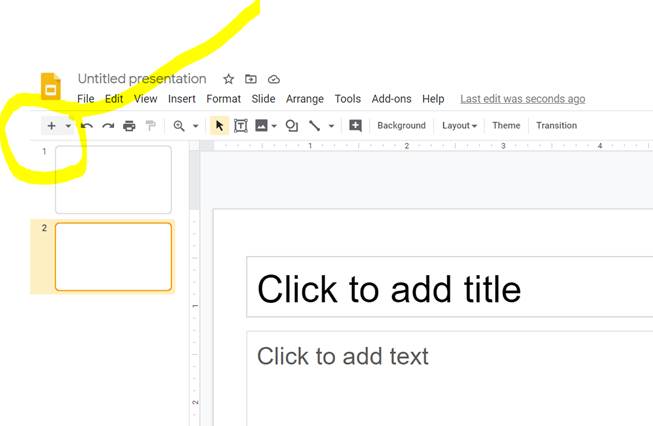
to Theme your Google Slides How to insert a New Slide
To inset a new slide, click the + on
the toolbar.
You can also click the drop down and
choose a specific kind of new slide.
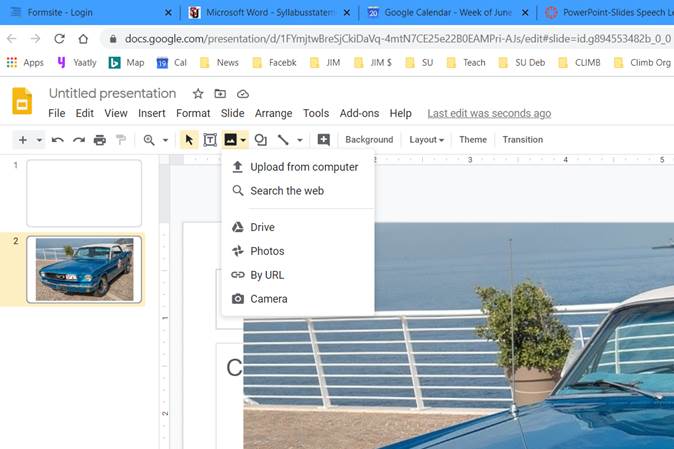
How To Insert Pictures
How To Edit
Pictures
Once
you have a picture in the right place, Right Click the Picture and then you have
multiple options for editing the picture. CROP
PICTURES
Right
Click the Picture, Click Crop Image (2/3 of the way down on the list). Then grab
and move the picture edges where you want to crop (remove) that part of the
picture.
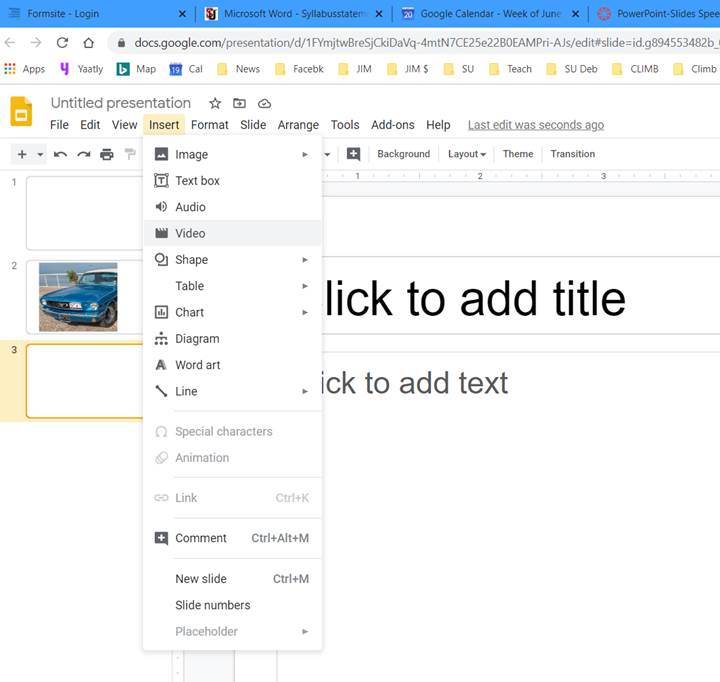
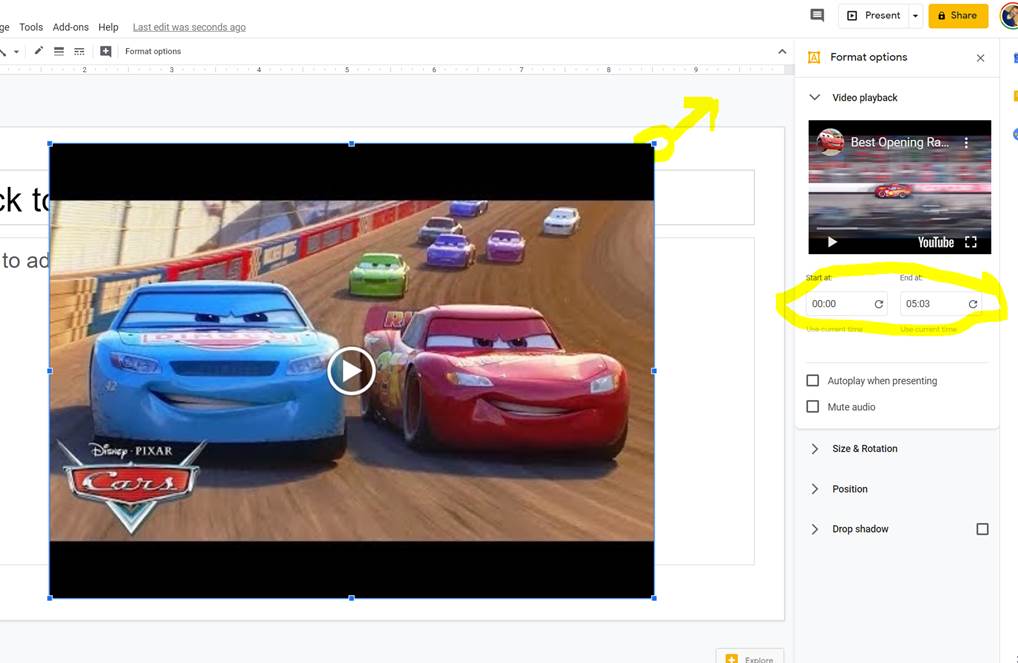
How to Insert a Video
Videos can add interest and demonstrate key things
you are talking about. 1. Insert
a new slide 2. Click
Insert, Video, Video on My PC.
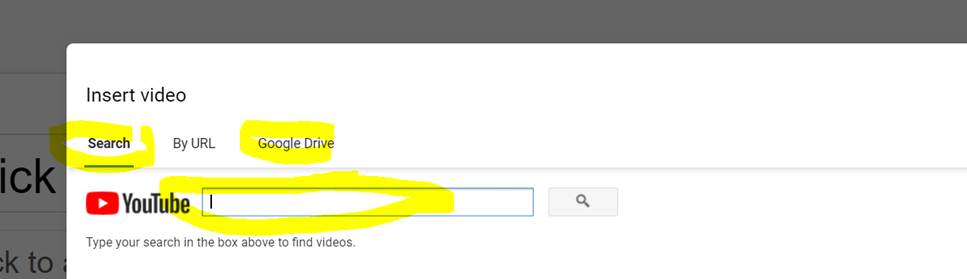
You can search for a video on youtube—plus
you can search for videos on your google drive (I believe there is a way to get
a video from your own hard drive there too in google drive).
The Video will appear like this:
You can make the video bigger (or smaller) by
grabbing and dragging the little blue box in the corner. You can adjust the start and end time of the video
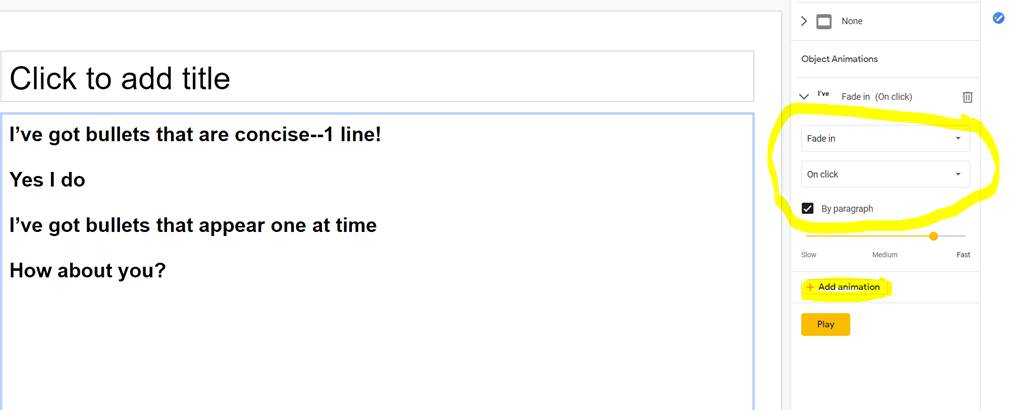
in the fields on the right side of the screen. How To Make your Bullets Appear One at a Time
If you show a slide with
all the bullets and pictures on screen at once, people will read and look at
those while ignoring what you are saying. Instead,
you need to have the bullets and pictures appear one at a time—at the moment when you say them. To make bullets appear one at a time,
do this:
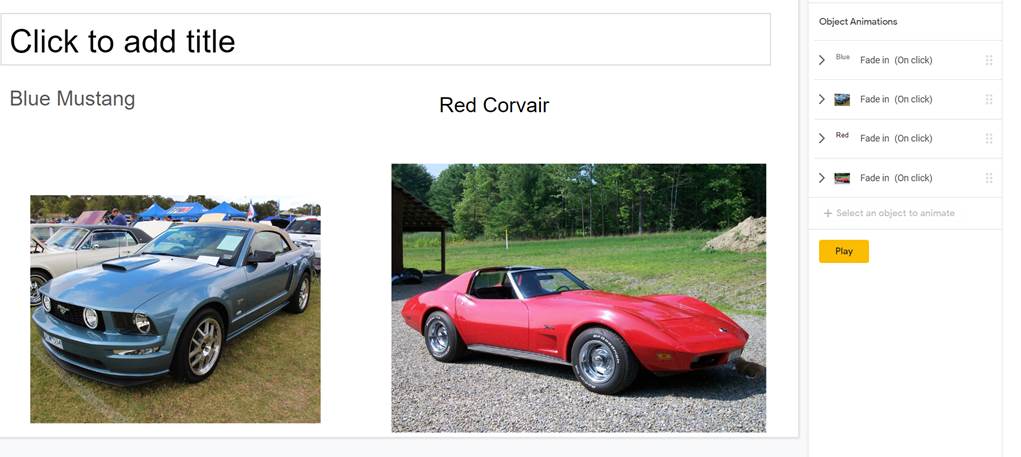
Have text and pictures? Want to go back and forth from text to pictures?You
will need to insert a textbook for text that will appear after a picture. Then
animate the text, picture, text, picture (as it should appear on the screen). Your
animation order will appear on the right side.
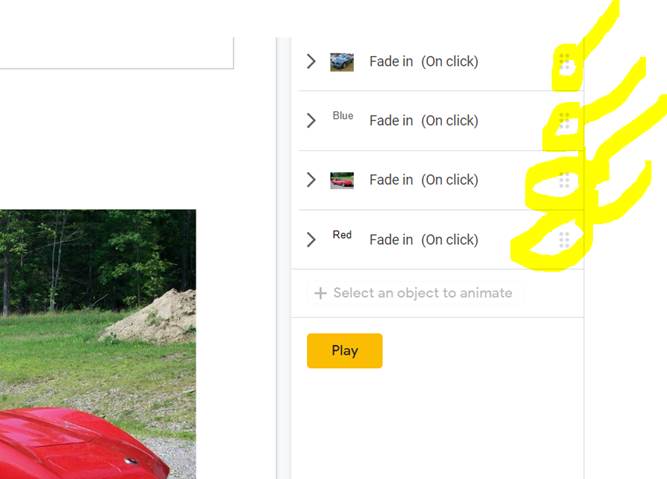
Want
the animation to go in a different order? Click the 6 gray circles and move
up or down.
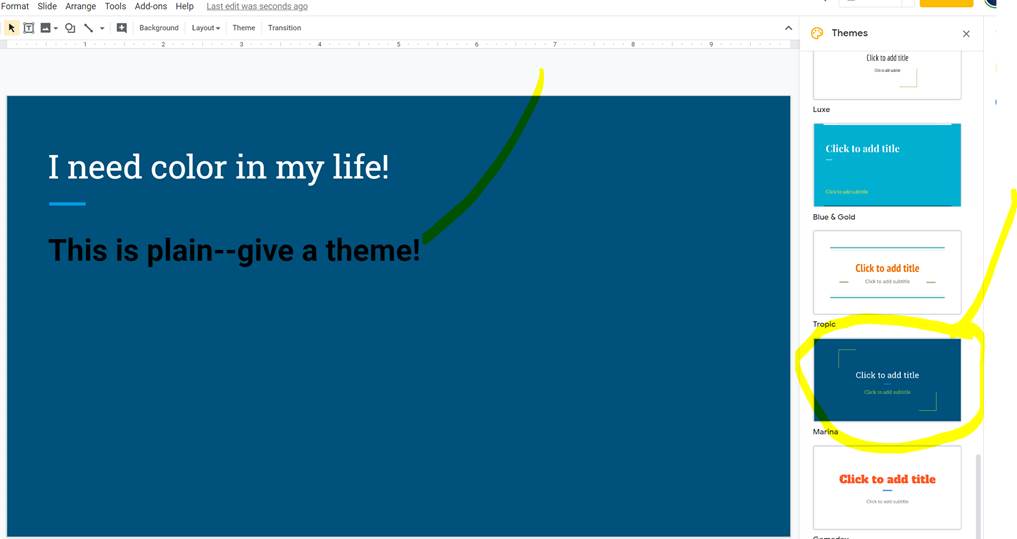
How to
Theme your Google Slides
Give
your Google Slides a great look beyond the standard black text on white
background. Click
Slide, Change Themes—Then Choose a Theme on the right side of the screen.
Note that when you switch the theme—you
may need to change the color of fonts (here the black font should be changed
to white font for good contrast)—also, you may need to increase your font
size. |
|
||
|
|
|
|